Home » 2012 » February » 26 » Digital-Tutors:Creative Development: Motion Flow Rigging in Maya with Farley_Chery
00:26
Digital-Tutors:Creative Development: Motion Flow Rigging in Maya with Farley_Chery
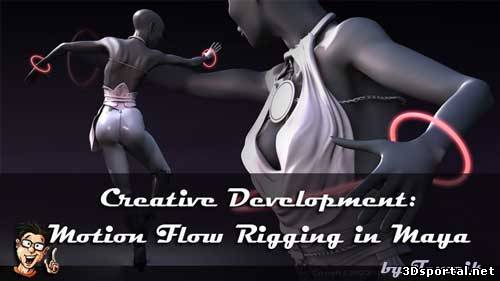
Digital-Tutors:Creative Development: Motion Flow Rigging in Maya with Farley_Chery 7 hrs. 8 min. |Released on June 15, 2011 |Project Files Included (13 MB) Required Software: Maya 2011
UPDATED
In this series of lessons, learn the process of rigging with an emphasis on fluidity and natural motion.
In this course, Farley Chery will be introducing extraordinary new rigging concepts to help animators achieve natural fluidity in our body movement. He will cover different theories and methods used in combination to give natural articulation that occurs during body movement. The artist will explain the theory and reasoning through the rig development process. This leads into the creation of an innovative shoulder setup, based on the postion of the elbows mimicking the proper actions of human anatomy, which uses the concepts covered to make it intuitive to use in both FK and IK systems. This implementation of a remarkable no flip knee setup, which is used to create an automatic hip system, magically orients itself to the average position of the knees allowing for quick and natural poses for the character. This course is concluded by building a squash and stretch nSpine and an easy method for creating spine twists. These revolutionary methods come directly from the artist and can not be found anywhere else.
34 videos in this course
1. Introduction to the course 2. Introduction to the model and the end results 3. Theory section: programming nodes 4. Theory section: faux constraints 5. Theory section: interdependent systems 6. Creating the broken dependency loop for the auto shoulder 7. The dependency system 8. Finishing the automatic setup 9. Adding in the IK handles 10. Building the IK switches 11. Cleaning up the auto clavicle interface 12. Theory: Pose space tools 13. Pose space vs. Twist knee control 14. Building the legs 15. Fixing the reversed controls for the legs 16. Cleaning up the leg interface for export 17. Importing and setting up our invisible legs 18. Setting up the auto swivel on the hips 19. Continuing with the auto swivel functionality 20. Adding the other two axis to our automatic setup 21. Creating a better solution to measure distance 22. Dual constraints, exploring and resolving the issues 23. Cleaning up the system and creating a hierarchy 24. The auto hip switch 25. Re-exploring the wheel and swivel: a better solution 26. Starting the nSpine 8 min. 27. Adding stretchy functionality to the nSpine 28. Completing the last steps to adding in stretchiness 29. A new method to add rotation to a spine 30. Uniting the leg system and the spine 31. Wrapping up the legs and spine, looking at limitations and issues 32. Finalizing the rig 10 min. 35 sec. Details » 33. Bonus lesson: tying the theoretical rig into a model 34. Bonus lesson: a quick explanation of the head controls