| Calendar |
| « March 2026 » |
| Su |
Mo |
Tu |
We |
Th |
Fr |
Sa |
| 1 | 2 | 3 | 4 | 5 | 6 | 7 | | 8 | 9 | 10 | 11 | 12 | 13 | 14 | | 15 | 16 | 17 | 18 | 19 | 20 | 21 | | 22 | 23 | 24 | 25 | 26 | 27 | 28 | | 29 | 30 | 31 | |
| Friends Site |
Код нашей кнопки:
Code of our button:
|
| NEWS PARTNERS |

|
|
Archive
Home » Tutorials
 In this course, we'll cover methods for adding topology to our new or
pre-existing model to make creating mouth shapes and expressions
feasible.
For anyone focusing on animation, having a character to work
with is important. In a previous course, we went through the process of
building a basic character that we could use to practice our animation.
The character is meant to show action and emotion through only the
movement of the body. While this is great practice for getting the most
out of our character's body movements, at some point we'll probably want
to start creating facial expressions and even make our character speak.
We'll use a variety of tools in Maya like the Split Polygon Tool and
the Insert Edge Loops tool to manually add and remove edges and
generally reroute the geometry as needed. We'll also add geometry for
the interior of the mouth and reassemble the head with the existing
body.
...
Read more »
|
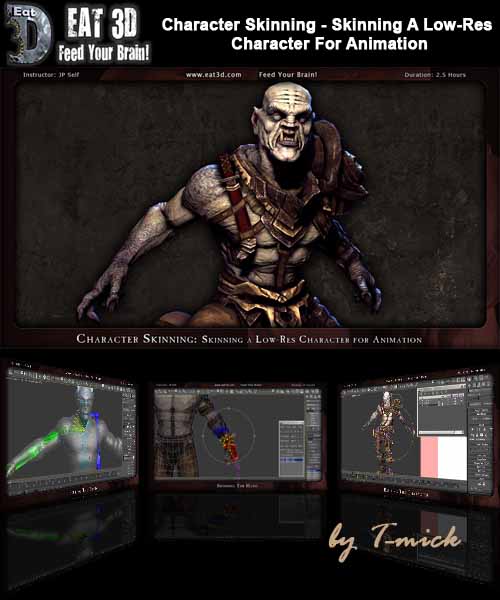 Eat 3D-Character Skinning - Skinning A Low-Res Character For Animation Eat 3D-Character Skinning - Skinning A Low-Res Character For Animation
In this DVD, JP Self makes the character from the Low-Res Character
Production DVD animation-ready by skinning it from head-to-toe.
He goes over how to fit the biped to the mesh, using the weight tool to
adjust the folds in those tricky areas (such as the hands, shoulders,
and pelvis), mirroring the vertices from one half of the character to
the other in order to achieve that professional outcome, and even
resizing the character after the skinning is complete.
...
Read more »
|
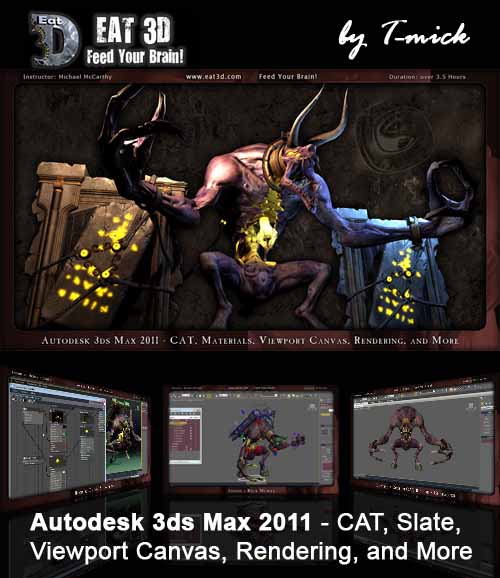 In this DVD, Instructor Michael McCarthy goes in depth with some of the
most important new features in 3ds Max 2011. Michael starts off with an
extensive overview of "CAT" and then goes through creating a custom CAT
Rig from scratch and even goes into great detail with using CAT Muscles.
Next Michael goes into great detail with the new Slate Material Editor
and ends up creating a custom Shader for a Character. Another exciting
feature covered is the new Viewport Canvas tools to texture a character
head. Other topics on the DVD include rendering with Quicksilver,
Rendering out Surface Maps, and more.
...
Read more »
|
 Lesson Outline (15 lessons)
In this course we'll explore some of the new features in ZBrush 4.
With the release of Zbrush 4 a number of new features have been
added that will make sculpting and painting even easier and more fun. In
this course we will take a look at some of those new features and how
they can be used in your workflow. We'll start by exploring some of the
changes to the way we can interact with subtools. We will look at new
brush settings like elasticity and topological masking that can help us
to shape our models more quickly. We will take a look at the new Shadow
Box and Clip Brushes that will really aid us in creating hard surface
models. We will also cover Spotlight, a great tool for manipulating and
adjusting images and projecting them onto our models. Finally we'll go
over some of the new rendering functionality and look at the animation
tools and how they can help us better present our models. Once done,
you will have a much better idea of some of the new features to look for
in Zbrush 4 and how you can start to use those in your own projects.
...
Read more »
|
 Digital Tutors-Object Replacement with Magic in RealFlow 5Lesson Outline (9 lessons) Digital Tutors-Object Replacement with Magic in RealFlow 5Lesson Outline (9 lessons)
In this series of lessons we'll learn how to use various daemons
together to morph one object into another in realflow. Using daemons
like noise, drag, dspline and magic together we can create interesting
effects quickly.
We'll begin this project by importing our geometry into RealFlow
and creating our initial emitter. We'll then add some random motion
using a noise field daemon. To get a squashing effect, we'll use a
Dspline daemon to pull all our particles into a line. Finally, we'll use
the magic daemon to make our particle cloud form our second word. Our
job is not done since we need to animate these daemons to work together
in a specific sequence. Once our particles are moving nicely, we'll take
a look at some meshing challenges and see how to use a drag daemon to
fix certain issues. We'll finish by taking our mesh into Maya and
creating the shader and render setup to output our final images.
...
Read more »
|
 Using Morph and Magic Daemons in RealFlow 5 Using Morph and Magic Daemons in RealFlow 5Lesson Outline (9 lessons)
In this series of lessons we'll learn how to use the morph and magic
daemons to have a particle stream morph into an object. We'll also learn
how to control our simulation using the Filter daemon.
We'll begin this project by looking at a few simulations using
each daemon separately and the issues with each. We'll then add our
initial emitter and begin working with the Morph daemon. After learning
how the morph daemon operates and which parameters we need to edit to
control it, we'll add in our magic daemon. We'll then take a look at how
the Filter daemon works and we'll begin setting it to divide our
particles. Once we have our particles controlled correctly using
exclusive and global links, we'll make some final adjustments to our
morph daemon for more appealing motion. We'll finish by meshing our
particles and troubleshooting a few mesh issues.
...
Read more »
|
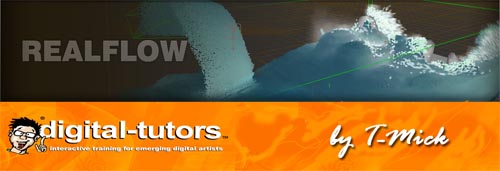 Lesson Outline (14 lessons) In this series of lessons, we will explore the Hybrido fluid solver, which is a key feature introduced in RealFlow 5. The Hybrido fluid solver opens up a whole new realm of possibilities for fluid simulation within RealFlow, allowing us to solve millions of particles with relative ease. We will begin this course by learning how to set up specialized domains and emitters for our Hybrido fluids, as well as learning how these particles can be influenced by the RealFlow daemon nodes. From there, we will learn how splash particles can be used to add detail to our fluid bodies. We will also learn how mist and foam can be generated within our Hybrido fluids, adding details and levels of realism that were much more difficult to achieve with previous versions of RealFlow. Finally, we will learn how to generate meshes around our particles and how displacement maps can be created inside of RealFlow to add fine details to our meshes.
...
Read more »
|
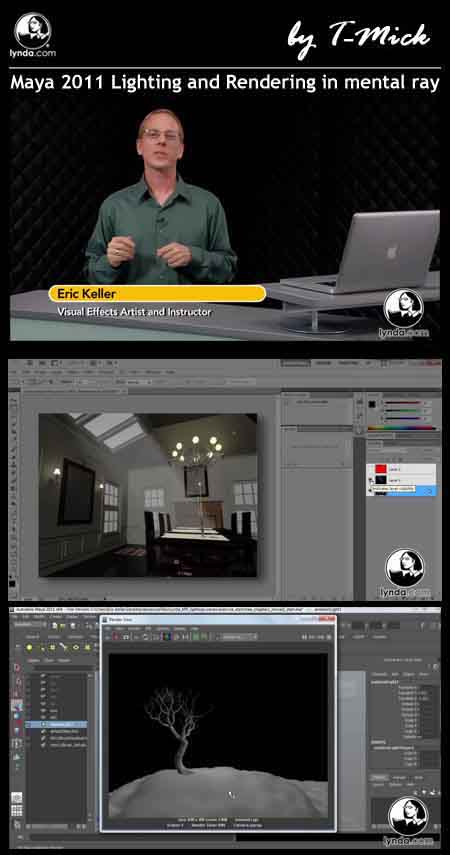 Lynda.com - Maya 2011 Lighting and Rendering in MentalRay (Exercise files included)
English | H264 960x540 | MP3 96 Kbps | 1.16 GB Maya
2011 Lighting and Rendering in mental ray with Eric Keller shows how to
master practical mental sight techniques for rendering models created
in Maya. This course walks through the ~ numerous efficient and
innovative mental ray t>echniques, including direct versus indirect
lighting methods, creating deviating types of shadows, using the new
ShadowMap camera, and reusing typify and final gathering maps. A chapter
on optimizing render times and enhancing restore quality is also
included. Exercise files are included with the regularity.
...
Read more »
|
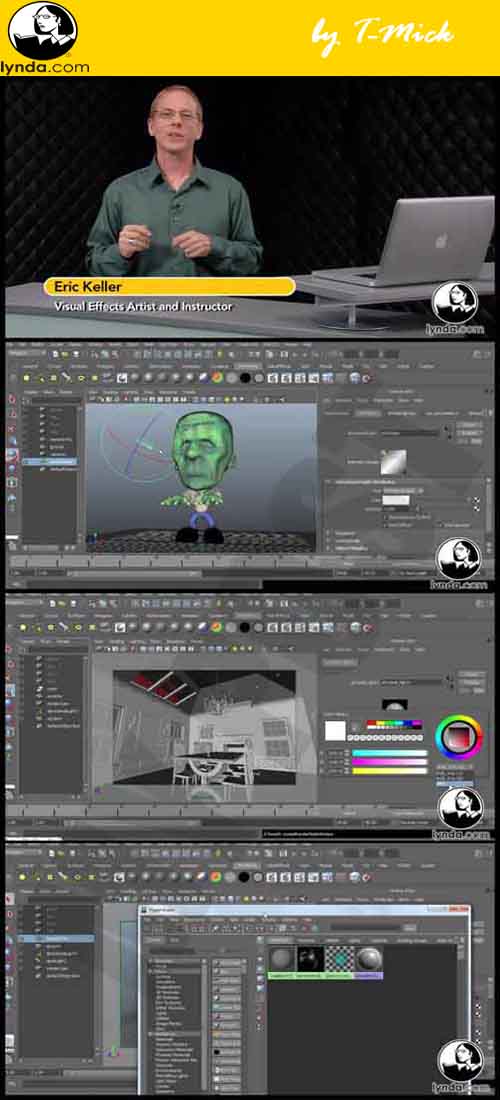 В новом видео-трейнинге от Lynda.com Eric
Keller рассказывает об особенностях работы с текстурами и шейдарами в
Maya 2011. На диске присутствуют все необходимые файлы для изучения
нового материала.
Maya
2011: Creating Textures and Shaders with Eric Keller shows how to
create textures and materials, and then apply them to models to render
realistic surfaces. The course covers working with the mental ray
shading nodes, including the mental images architectural node,
subsurface scattering nodes, occlusion, and car paint shaders, as well
as how to incorporate these nodes into shading networks using the
Hypershade editor. It also explores using textures, Maya software nodes,
normal maps, and displacement maps for adding detail to models.
Exercise files accompany the course.
...
Read more »
|
|
|
| Statistics |
Total online: 2 Guests: 2 Users: 0
|
|
