| Calendar |
| « March 2026 » |
| Su |
Mo |
Tu |
We |
Th |
Fr |
Sa |
| 1 | 2 | 3 | 4 | 5 | 6 | 7 | | 8 | 9 | 10 | 11 | 12 | 13 | 14 | | 15 | 16 | 17 | 18 | 19 | 20 | 21 | | 22 | 23 | 24 | 25 | 26 | 27 | 28 | | 29 | 30 | 31 | |
| Friends Site |
Код нашей кнопки:
Code of our button:
|
| NEWS PARTNERS |

|
|
Archive
Home » Tutorials
 At Digital-Tutors, we've found that many students starting out in
modeling have difficulty in creating the specific vision they have. In
many cases it's not necessarily a lack of knowledge of the tools as much
as it is a lack of confidence and experience. So, to give you a head
start on your modeling, we've put together a number of tips collected
from production and from teaching students that will help you build the
best models you can with minimal frustration.
...
Read more »
|

'Infiltrator'
Production Pipeline Volume 7: CompositingRuntime: 4 hrs. 29
min. Software: Composite 2011 and
up In this series of lessons
we'll learn how to use Composite to
re-assemble our Maya render passes and integrate them with our
background plates. Using composite to assemble our final render gives us
an incredible amount of creative control over the final look of our
shot.
We'll begin this project by importing our render
passes from
Maya. From there we will do some basic compositing. We'll then begin
troubleshooting our shot and using a variety of tools and techniques to
integrate our elements. We'll also learn how to fix issues in our
background plate using masks, keyers and other tools. During this shot,
we will be animating
...
Read more »
|

Digital Tutors-Automotive Modeling in CINEMA 4D 3d car models are a mainstay of computer graphics. There are countless
types to choose from and they offer a great exercise in building
different kinds of geometry. CINEMA 4D offers a number of great options
for building cars and in this course we'll put some of those to use
building a Rolls Royce.
...
Read more »
|
 Digital Tutors-Introduction to RollingShutter in Nuke Digital Tutors-Introduction to RollingShutter in NukeIn this series of lessons we'll learn the basics of using the
RollingShutter plug-in to fix skew and wobble in our footage. These
effects appear in any camera that uses a CMOS sensor, such as the Canon
5d MK2, the Nikin D90 and the Red One. Using RollingShutter, we can fix
distortion not only for visual appeal, but also so it tracks better
through match moving software.
...
Read more »
|
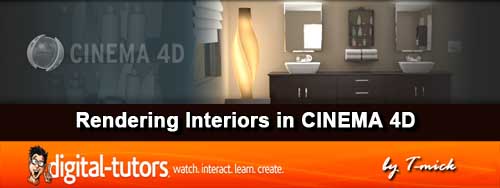 In this series of lessons, we will explore some workflows for creating highly realistic interior renders using CINEMA 4D.
During the course of this training, we will go through the
entire process of rendering an interior scene with realistic light and
material behaviors using some of the powerful rendering features found
in CINEMA 4D. We will begin by creating materials for the various
objects in our scene, in preparation for the lighting process. Once we
get into the lighting, we will learn how to render our images into a
linear color space and we will incorporate a variety of realistic light
behaviors into the scene. Finally, we will discover the benefits of
multi-pass rendering by making significant, precise alterations to our
final render using Photoshop.
...
Read more »
|
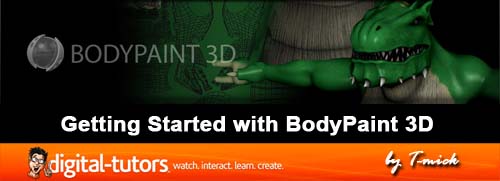 In this course we will cover the basics of working in BodyPaint 3D.
Creating believable texture maps is a huge part of creating
great characters, props, and environments. BodyPaint 3D is fantastic
tool for painting textures interactively on our models, while keeping a
lot of the functionality that comes from working in a 2d image editing
application. BodyPaint 3D is widely used in the industry and knowing how
to use this powerful program will really help you work faster and
smarter. In this course we will get a good jump start on working in
BodyPaint 3D. We will go over the interface and talk about where
everything's located. We will go through the process of setting up
textures for our models, complete with multiple channels and layers.
We'll cover painting concepts and tools including working with brushes
and color. We'll also look at useful concepts like Projection Painting
and using the Raybrush Render View to get a better idea of what your
texture will look like as you paint. We'll also go over some of the ways
you can integrate BodyPaint 3D with other applications like Photoshop,
Maya, or 3DS Max. Once you are done, you will be able to jump in and
start texturing your own models in BodyPaint 3D.
...
Read more »
|
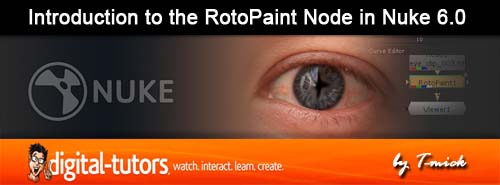 Introduction to the RotoPaint Node in Nuke 6.0 Introduction to the RotoPaint Node in Nuke 6.0 In this series of lessons we'll learn how to use the RotoPaint node
introduced in Nuke 6.0. The RotoPaint node is the new global tool for
creating rotoscope shapes, painting, cloning and other brush based
tools.
...
Read more »
|
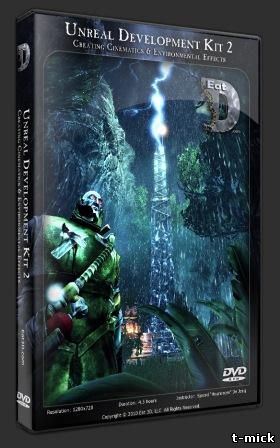 Back by popular demand, Sjoerd "Hourences” De Jong builds upon the information taught in his first DVD
by creating an entire in-game cinematic. Sjoerd starts with a custom
existing level and adds rain, wind, thunder, lightning, splashes,
puddles, and even plants that react to wind in order to bring the
environment to life. From there he goes through adding a character to
the scene, adding multiple cameras, triggering a lighting strike,
creating an electrifying effect, creating a fire, blowing off a small
door and finally setting everything up in kismet/matinee for the final
cinematic.
...
Read more »
|
 Digital Tutors- Compositing 3D into Video in Maya and Toxik Digital Tutors- Compositing 3D into Video in Maya and Toxik In this series of lessons we'll learn how to take the output from a
motion tracker app into Maya, import a 3D model to light and render then
jump into Toxik to composite it with our original footage.
We'll begin this project by setting up our motion tracked scene
by adding the original footage and aligning everything to make working
easier. We'll then bring in our 3d object and learn how to place it in
our scene. We'll then learn how to create ground geometry and match the
lighting in our original shot. We'll then setup our scene with multiple
render passes and layers to make compositing much easier. After we
render, we'll jump into Toxik and learn about such topics as shadow
matching, color matte usage and various techniques to match our 3d
render with our live action b
...
Read more »
|
 Digital Tutors- Sculpting a Realistic Bust in ZBrush Digital Tutors- Sculpting a Realistic Bust in ZBrush In this course, we will learn how to create a realistic human bust using ZBrush.
We will be creating this character entirely within ZBrush, so we
will begin by using ZSpheres to create the base mesh for the head and
upper torso. From there, we will be going through the process of
reshaping and detailing facial features, and in doing so, we will be
placing special emphasis on important topics such as proper facial
proportions, understanding the importance and function of key facial
muscles, understanding the effects of aging on the human face, and
making sure we incorporate all of these critical concepts into our final
character. We will also use a variety of tools and techniques within
ZBrush to create several articles of clothing for our character.
...
Read more »
|
|
|
| Statistics |
Total online: 2 Guests: 2 Users: 0
|
|
